Collaborating and working with hugo themes
Customizing themes
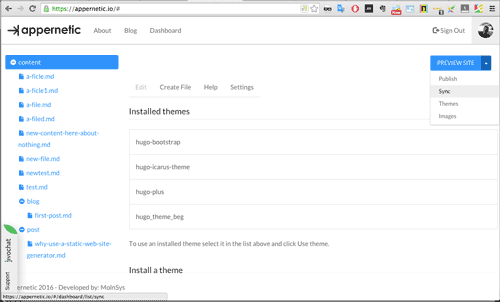
If you just have set up your Appernetic account you need to add a theme. The easiest way is to clone a theme which you can do from the drop down button beside the blue Preview button to the right.
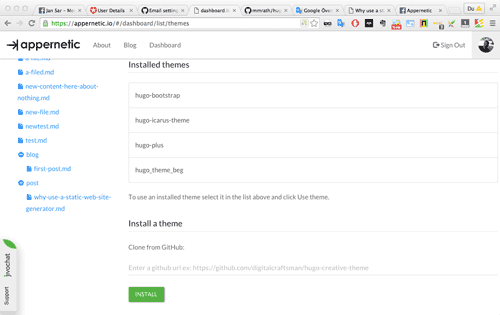
You can start by cloning my customized hugo-bootstrap theme or get one from Hugo. Then select the theme from the list of themes and click Use Theme. When you do that the theme config settings will be copied to your project folder. Now open the settings tab and change the settings as you would like to have it.
You can change the bootswatch to another design by changing the theme = «paper» under [params].
Here is the different bootswatch designs you can use:
- cerulean
- cosmo
- cyborg
- darkly
- default
- flatly
- journal
- lumen
- paper
- readable
- sandstone
- simplex
- slate
- spacelab
- superhero
- united
- yeti
There is lots of themes at Hugo, but you probably want to customize the theme before you use it so that you have a blog with a theme that is matching your business web site or service. I am using Bootswatch Paper theme for Appernetic service. Fortunately I found hugo-bootstrap and cloned it.
Then to customize it further I pressed the Sync button which does a pull and then a push to your Appernetic project repository at GitHub with the name appernetic-hugo-project . When you start out you will not have this repo so it is automatically created for you and all strange git commands i hidden away so you do not have to think about it.
When you start out you will not have this repo so it is automatically created for you and all strange git commands i hidden away so you do not have to think about it.
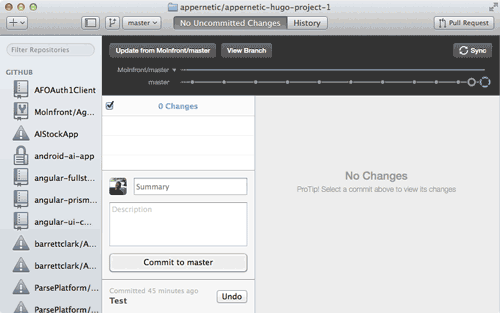
Now to work with the theme I did a pull to my local computer, edited the theme with my favorite editor Atom and after that I did a commit and a push back to my GitHub project repo. If you are a hard-core git user you would start terminal and add the commands. There is also a very easy to use desktop client for GitHub.
Collaborating
Notice also that I have all the social and collaborating features in GitHub so I can invite a real front end designer to have a look at my attempts to customize the theme. My last step is to do a Sync again in Appernetic and then a Publish and after 10 min all is live on GitHub Pages.
Notice also that I have all the social and collaborating features in GitHub so I can invite a real front end designer to have a look at my attempts to customize the theme.
Start blogging!
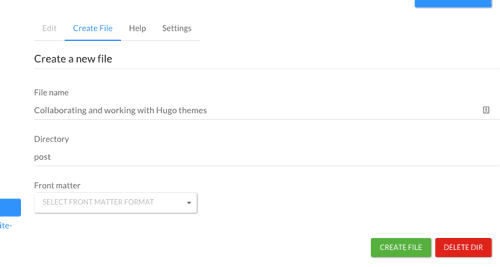
From now on it is very easy to start blogging. Select the post directory in the tree view, it is where blog post lives. Create a new file, name it with a headline, it will be sluggified automatically. Select toml or yaml front matter (toml as default selection). The file tree will be updated and show the new file. Open the file and blog away! Turn on auto save and all text you write will be saved every other minute. Remember to undraft the post if you would like to see it after publishing and add key words, tags and topics.
Happy blogging!
Tip, skip the first headline in the post (at least in hugo-bootstrap it will be added automatically) and edit the front matter located at the bottom of the editor after the preview and switch the first letter in the title to capital.